


WHAT IS A WIRELESS DISTRIBUTION SYSTEM?
Wireless Distribution Systems
What is a wireless distribution system? Essentially, it is an infrastructure that facilitates the expansion of a wireless network through the need for multiple industrial access point without requiring any wiring to link them together. Using WDS, you can easily link together two or more wireless access points to expand the range of a wireless network without using a traditional wired backbone Ethernet connection that is typically used to link them. Ultimately, WDS can provide two different modes of wireless connectivity between access points: wireless bridging and wireless repeating.
● Wireless Bridging: wireless bridging involves connecting two wireless access points together so that they can communicate exclusively with each other. Essentially, the wireless bridge acts as a client and logs into the primary router to gain an internet connection. Upon doing so, the bridge passes the connection along to the other connected devices. This mode of connectivity does not allow wireless clients or stations (STAs)—such as laptops, PDA, wireless phones, and other devices with the capability to use the 802.11 protocol—to achieve access.
● Wireless Repeating: wireless repeating allows access points to communicate with one another as well as with wireless STAs. Essentially, the existing signal from a wireless router or access point is taken and re-broadcasted to create a second network.
The Process of Configuring Wireless Distribution Systems
While a large amount of 802.11g devices have WDS bridging and repeating capabilities, the process of configuring them can often prove quite challenging. To help you configure your WDS successfully, we have provided a helpful guideline below.
Before we continue, it is important to note that not all devices with WDS capabilities will work together. To increase your chances of setting up a successful wireless distribution system, we suggest using products from the same manufacturer.
In most cases, a wireless distribution system is implemented to bridge WLAN across two buildings. As such, we will use this scenario in our example of how to configure a wireless distribution system. If you had a single wireless router in one building with a limited range and you wish to expand its range to a separate building, you would likely purchase another wireless router and place it in a separate location.
To connect the second router to the one in your building without using wiring, you would then implement a wireless distribution system. To do so, follow the steps outlined below. With the expectation that your original router has already been configured and is in use, our example will walk you through how to configure WDS on the added router used to extend the range of your network.
Connect the Router To Your Computer's LAN Port
It is worth noting that throughout the process of configuring a wireless router for the first time, you will need to use a wire to connect it to your computer’s LAN port. Once the process has been completed, you can then remove the wire and place the added router within the range of the original router to enjoy its wireless capabilities.
Log Onto the Router's Management Page
Once you have connected the added router to your computer’s LAN port, log into the router's management page. You can generally find information on how to log into the router’s management page by consulting its documentation or looking on the side of the router itself.
Upon logging in to the router’s management page, open the wireless settings. Main Access Point would need to have the wireless mode set up as WDS AP and the remote Access Points connecting to it would need to have the wireless mode set up as WDS Station.
Enter the SSID and BSSID Values
Then, enter the SSID and BSSID values of the original router which has already been configured. If you know the exact values, you can enter them manually. If you don’t know the exact values, click the survey button to acquire a list of all the available wireless networks within range. Once you have received the list, simply click the connect button located next to your current wireless network. Upon doing so, the SSID and BSSID fields will fill in automatically.
Input the Authentification Type and Pre-Shared Key of Your Current Network
Next, you must input the key type and password of your current network. After all of the aforementioned information has been filled out, you can then input the name of the wireless network for the second router. Keep in mind that the name that you choose will be shown to anyone who tries to connect to the router.
Disable the DHSP
Next, set the AP channel of the new router to the same channel as the original router. Upon doing so, you will need to disable the DHCP on the additional router by simply opening the DHCP and disabling the server.
Differentiate the LAN IP of the Routers
Modify the LAN IP address of the router by clicking on the Setup and then the Basic Setup tab and selecting LAN. Before connecting the two routers together, you will first have to ensure that the LAN IP of the additional router is distinct from the existing router, yet still in the same subnet. Once those settings have been adjusted, reboot the router that you have just configured. Upon doing so, you can safely unplug the wire connected to the computer’s LAN port and put the additional router in your desired location within the range of the original router.
Antaira is an industry-leading provider of industrial communication technology. Our wide variety of industrial IEEE 802.11 a/b/g/n wireless AP/bridge/client products will help you achieve the high degree of reliability that you need in even the harshest environmental conditions—from electromagnetic disturbances to extreme temperature fluctuations.
Blog Posts
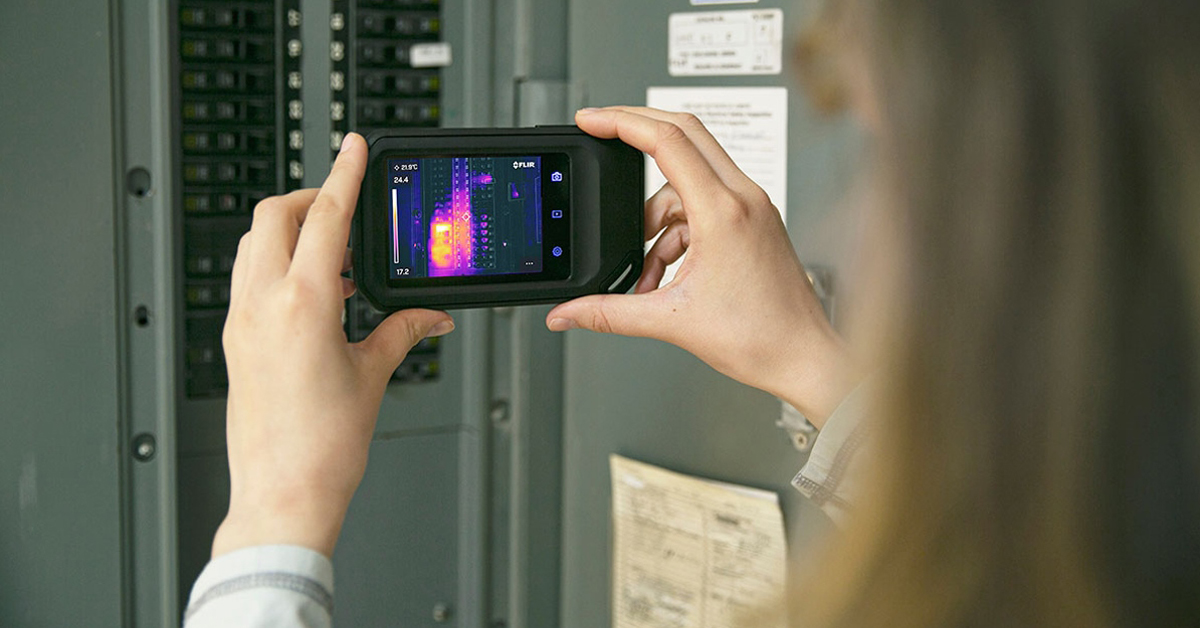
Thermal Camera Selection

How Far Can I See?

How Should Human Temperature Be Measured?

What is Wide Dynamic Range?

MYNOISE AUDIO MIXER REVIEW

WHAT IS A WIRELESS DISTRIBUTION SYSTEM?

POE VS. POE+ VS. POE++: CHOOSING THE RIGHT INDUSTRIAL ETHERNET SWITCH FOR YOU

INDUSTRY-LEADING INDUSTRIAL ETHERNET SWITCHES

UNDERSTANDING WHAT THE INDUSTRIAL INTERNET OF THINGS IS
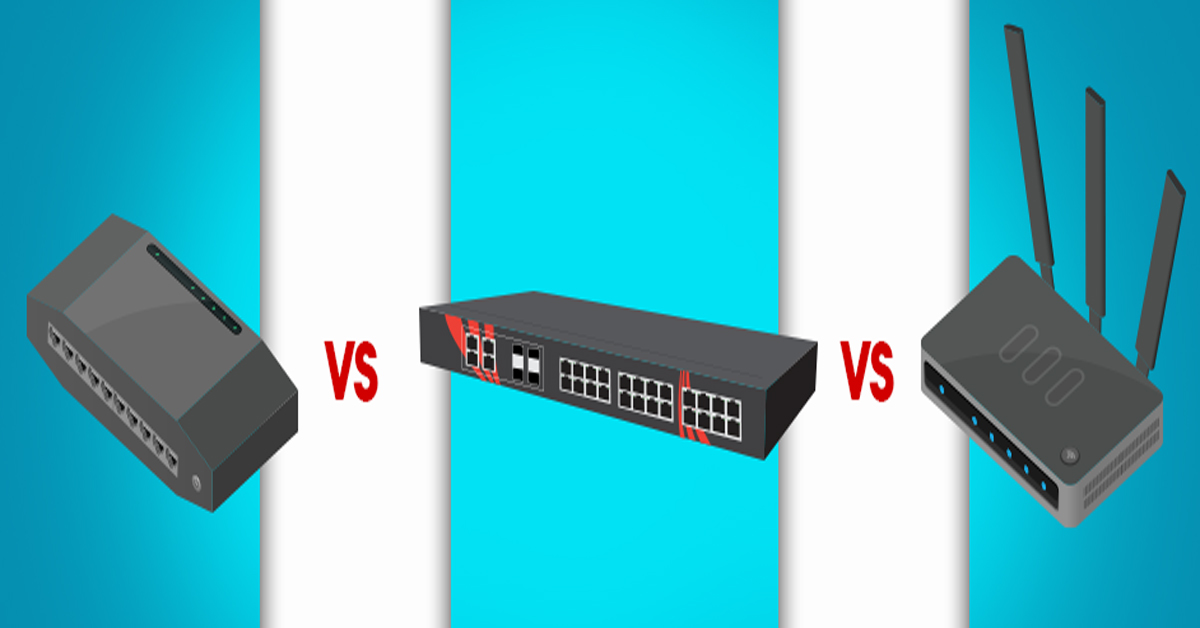
THE DIFFERENCE BETWEEN A HUB, SWITCH, & ROUTER

5 Benefits of Thermal Imaging Cameras

DIFFERENCE BETWEEN INDUSTRIAL ETHERNET AND REGULAR ETHERNET

INDUSTRIAL NETWORKING EQUIPMENT USED FOR AUTONOMOUS VEHICLES

CYBERSECURITY: PROTECTING INDUSTRIAL CONTROL SYSTEMS

HOW INDUSTRIAL NETWORKING CAN PROVIDE SECURITY FROM DRONES
.webp)
Thermal Cameras Reveal How to Keep Your Home Cool During a Heat Wave

FLıR ONE PRO
.png)
Unmatched Maritime Awareness with Cooled Thermal Imaging
.png)
What Is the Right Handheld Thermal Camera for You?
.png)
Camera Resolution and Range
.png)
Special Applications for Marine Cameras
.png)
What’s The Difference between Thermal Imaging and Night Vision?
.png)
Can Thermal Imaging See Through Fog and Rain?
Which Cx-Series Camera Is Right for You?
.png)
What is MSX®?

Five Reasons Maritime First Responders Need Thermal Imaging
.png)
3 Distinguishing Features of Superior Thermal Cameras
.png)
Determine Which Visible and Thermal Security Cameras You Need

Bullet vs. PTZ vs. Dome: Which Security Camera Is Right for You?

Interfaces for Machine Vision

Machine Vision Sensor Review
.png)
Teledyne FLIR, the Industry Leader, Launches Boson +, a Long-Wave Infrared Thermal Imager Module with an Accuracy of Less Than 20 mK
.png)
Whitepaper: IP-Based Security Convergence
.png)
3 Technologies Transforming Safe Cities into Smart Cities
.png)
Insights from the Field: Ensuring Workplace Safety Using Thermal Camera Screening for Entry Control

Thermal Night Vision as a Force Multiplier

Can Thermal Imaging See Through Walls? And Other Common Questions
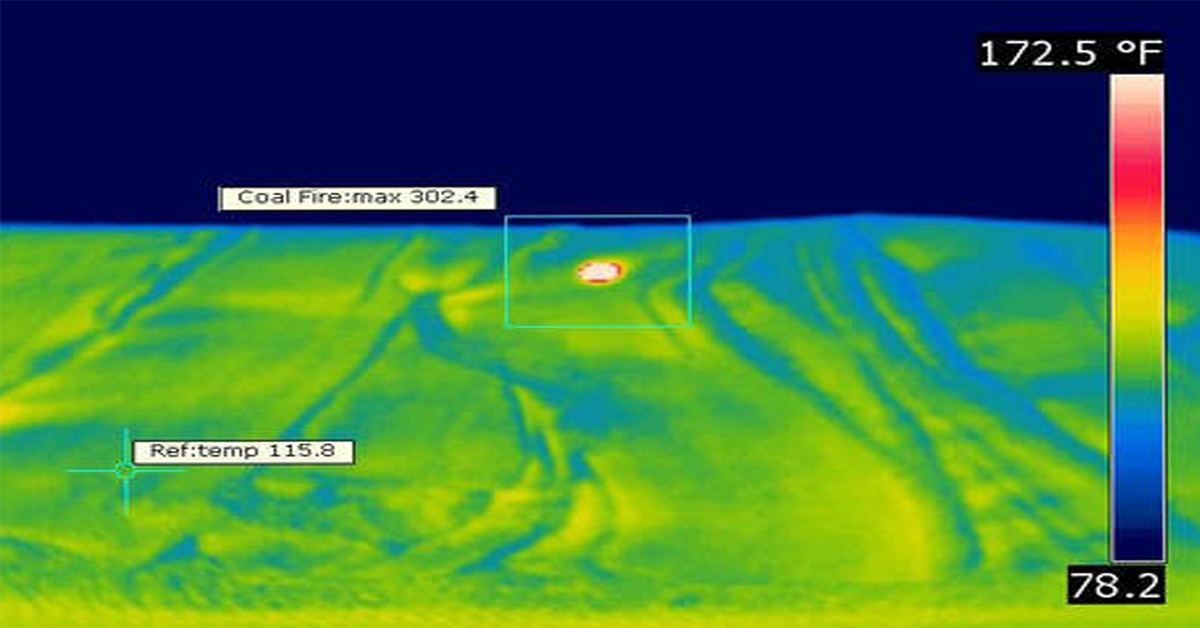
Application Spotlight: Early Fire Detection for Rapid Heat Generation

Protect Personnel and Equipment by Detecting Early Signs of Fire
Teledyne FLIR Launches A500f/A700f Cameras for Fire Detection and Condition Monitoring

Thermal Imaging Cameras Help Guarantee Fire Safety in Tunnels
Thermal Imaging Cameras Help to Prevent Fires

ITS-Series Dual AID Surpasses Standards for Fire Detection Systems in Japan

How Layering Multispectral PTZ Cameras and Radars Improve Perimeter Protection
POWER REMOTE RESET TECHNOLOGY - PRRT

Why Yacht Owners are Adding Thermal Imaging Cameras to Minimise the Risk of Lithium-Ion Battery Fires?
.png)
Intelligent Transportation Systems

Best Practices Guide for Perimeter Security Applications

Protect Pedestrians, Bicyclists and More with Thermal Smart Sensors

White Paper: Application of Ground-Based Security Radar to Perimeter Systems

What is Thermal Leakage and How to Reduce Its Risks
Battery Inspection Using Advanced Thermography

Providing ire Protection for Lithium Battery Storage

The Power of Thermal Imaging
.png)
Why Panel PCs Are Perfect For Industrial Applications?

Teledyne DALSA
.png)
Advantages of Virtual Barrier Video Analytics for Perimeter Security Systems
.png)
.png)
NASA Takes the Teledyne FLIR Boson Thermal Camera Module Out of this World
.png)
Port Security Enhancement: DP World Yarımca's Trust in FLIR Security Solutions for Effective and Safe Port Operations
.png)
The Importance of Thermal Sensitivity (NETD) for Detection Accuracy
.png)
Bosphorus Boat Show 2025: The Meeting Point of the Maritime World

Application Spotlight: Critical Asset Monitoring for Thermal Conditions
.png)
Thermal Imaging for Marine Firefighting
Imaging in Mobile Mapping
.png)
Using Thermal Imaging for Oil Spill Detection

Five Reasons Maritime First Responders Need Thermal Imaging

Case Study: Tackling Compressed Air Leaks in Automotive Parts Manufacturing with Acoustic Imaging

Thermal Night Vision as a Force Multiplier
.png)
Line Scan Contact Image Sensor - AxCIS
Beyond Resolution: What Really Makes a Camera System Work for Mobile Mapping
.png)
Multispectral Marine Cameras for USV Applications
.png)
Stabilizing FLIR Cameras for Smooth Viewing in Rough Waters
 (1).png)
Enhancing Maritime Safety with Video Tracking & Radar Integration

